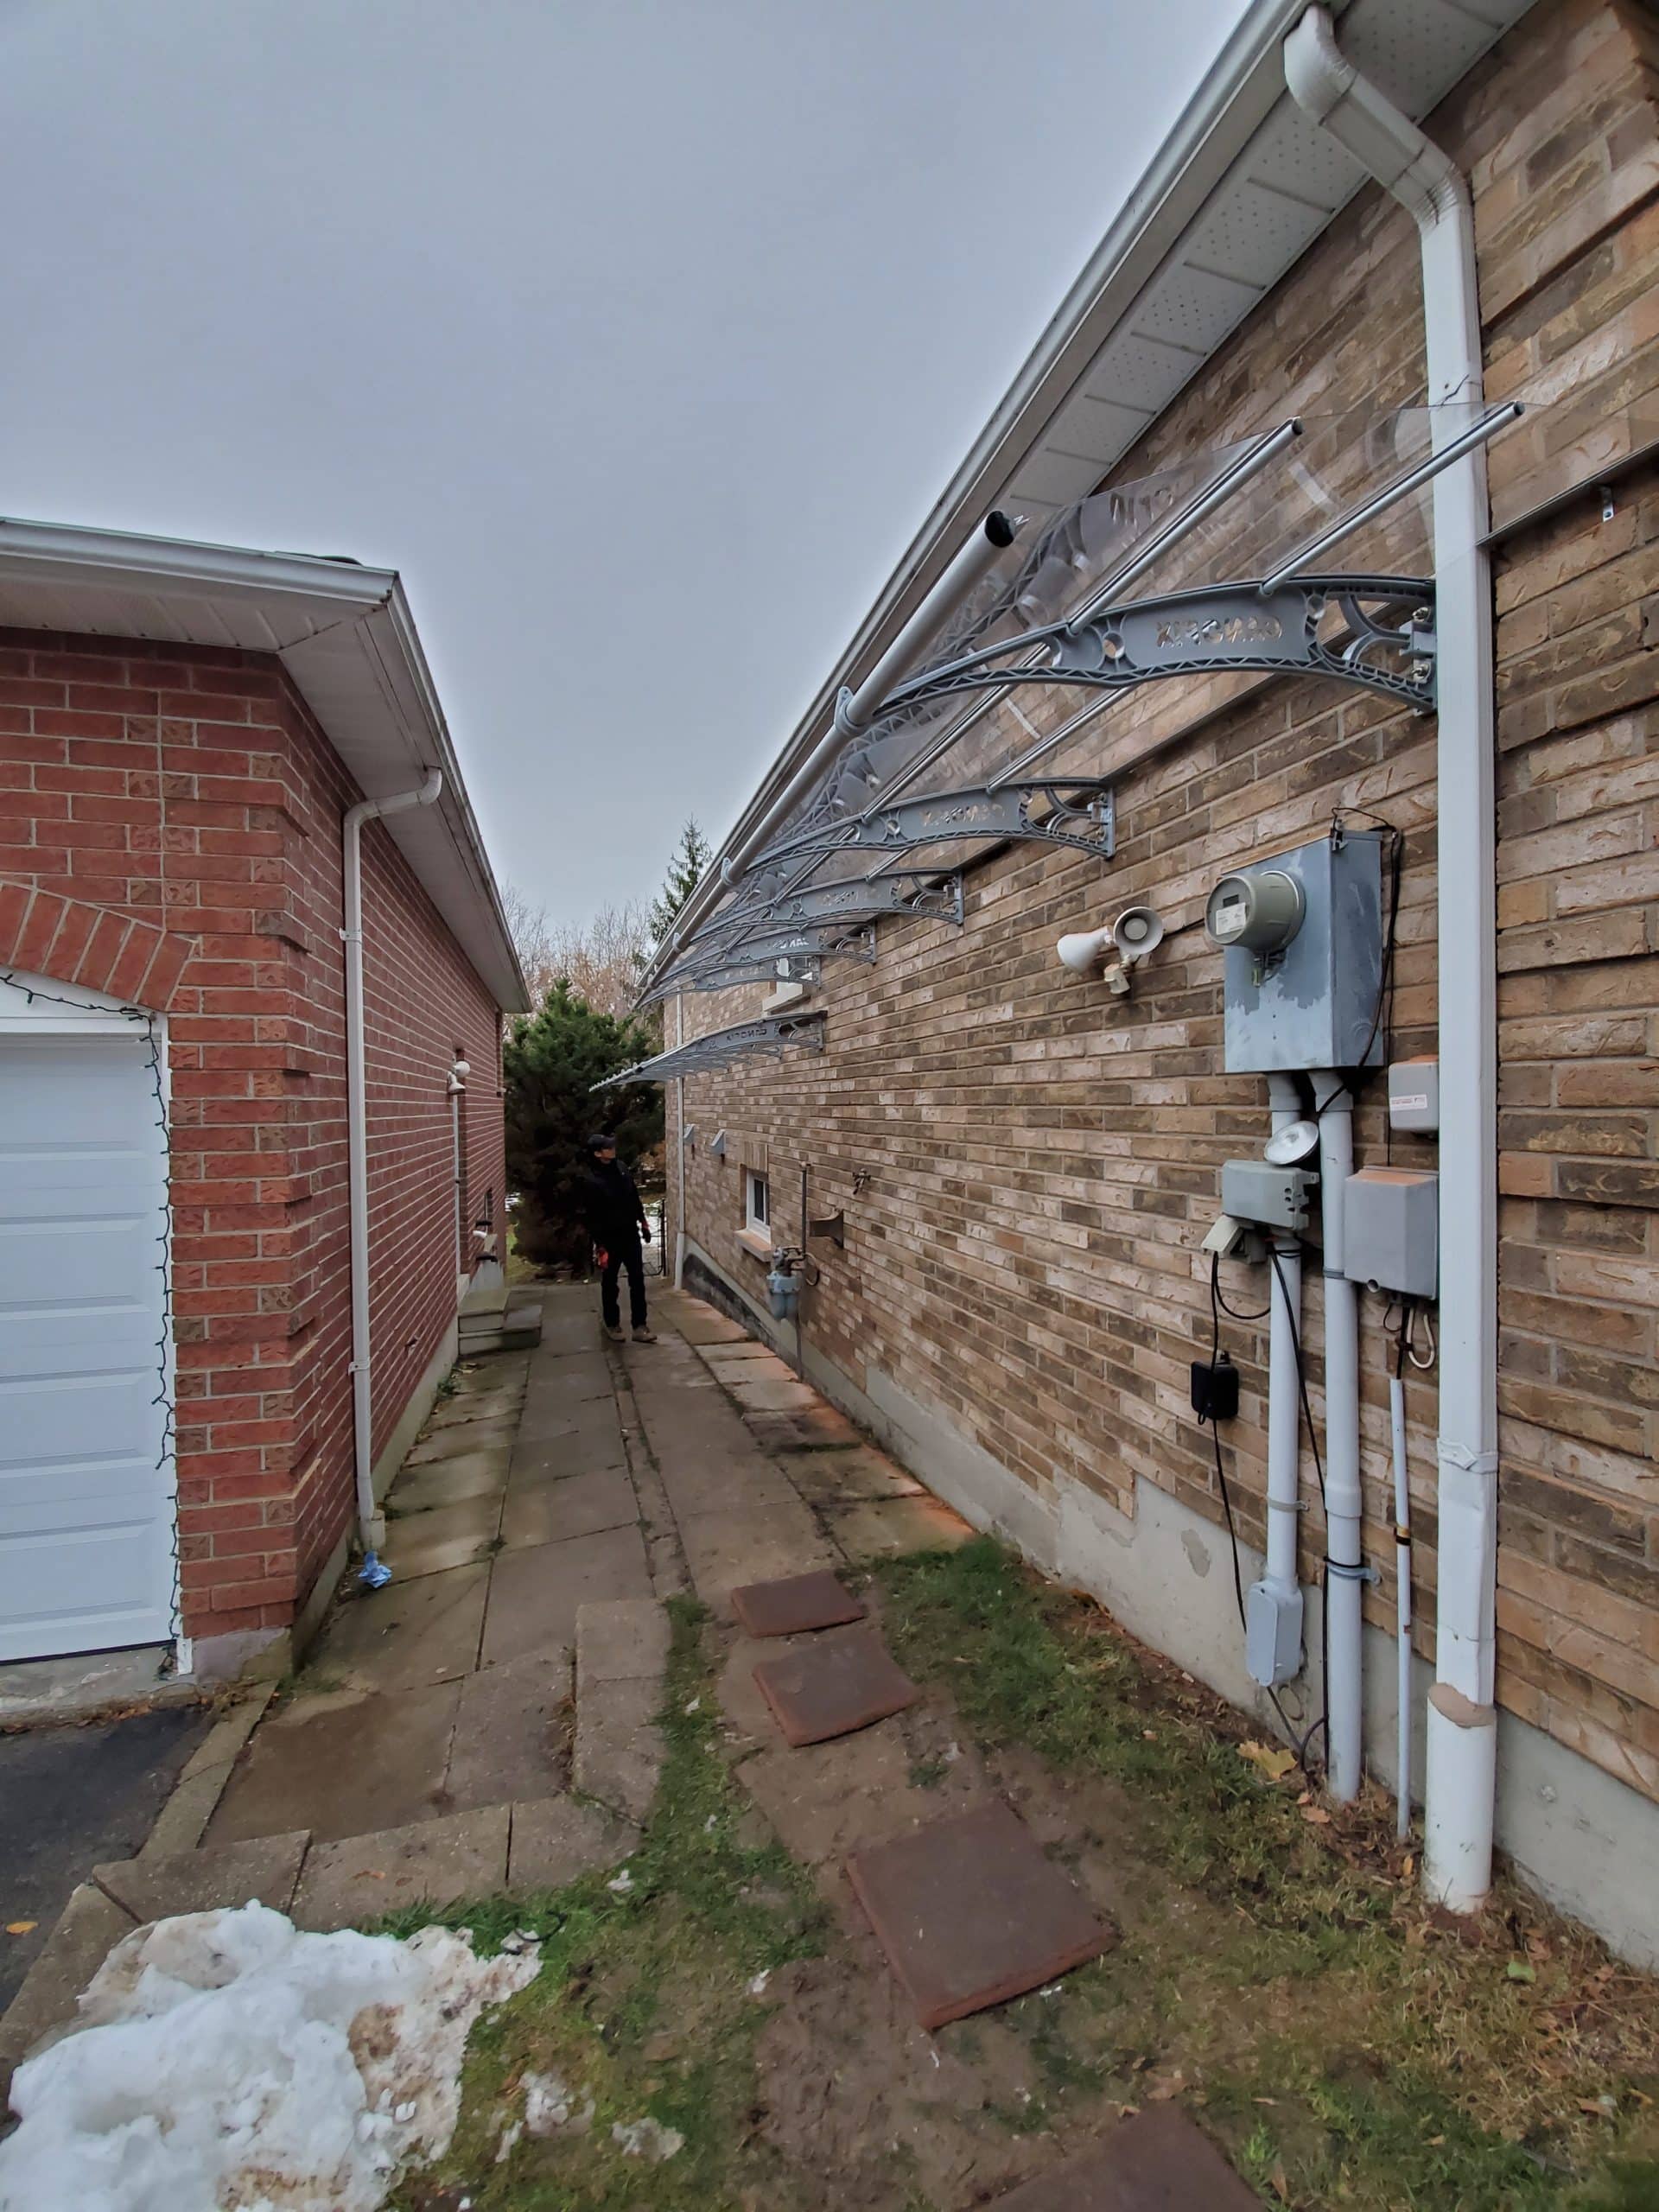
Measuring Guide for Sidewalk Cover Awning
This guide is recommended for customers who wish to provide cover for their side walk.
Step 1: Begin by measuring the total length of the sidewalk.
Step 2: Determine the height where the awning will be installed.
- Check for any objects that could get in the way of the installation. For example, keystone, roof, security cameras, etc.
- We do not recommend installing the awning below 7 feet as the end of the awning will end up being 6 feet or lower, which may cause people to run into the awning.
Step 3: Decide on the model to be used to cover the door or window.
- Please mind the property line. If the awning results in snow/rain accumulating on the neighbour’s property, the neighbour may request to remove the awning.
- PC3 (38″) and PC4 (48″) models are recommended for sidewalk cover.
- PC5 (59″) is recommend if the awning needs to be installed above 8ft.
Step 4a: Order the awning via our Shop page
- Select the model of the awning based on your results from Step 3.
- Choose the colour of the bracket and the panel
- Determine the bracket colour to either match the colour of the wall or the railing
- Determine the panel colour to either maximize (clear) or limit (tinted brown) the amount of sunlight
- Type in the length determined from Step 1.
Step 4b: If installation service is required, please call 1-437-970-9709 or fill out the Contact Us page

